
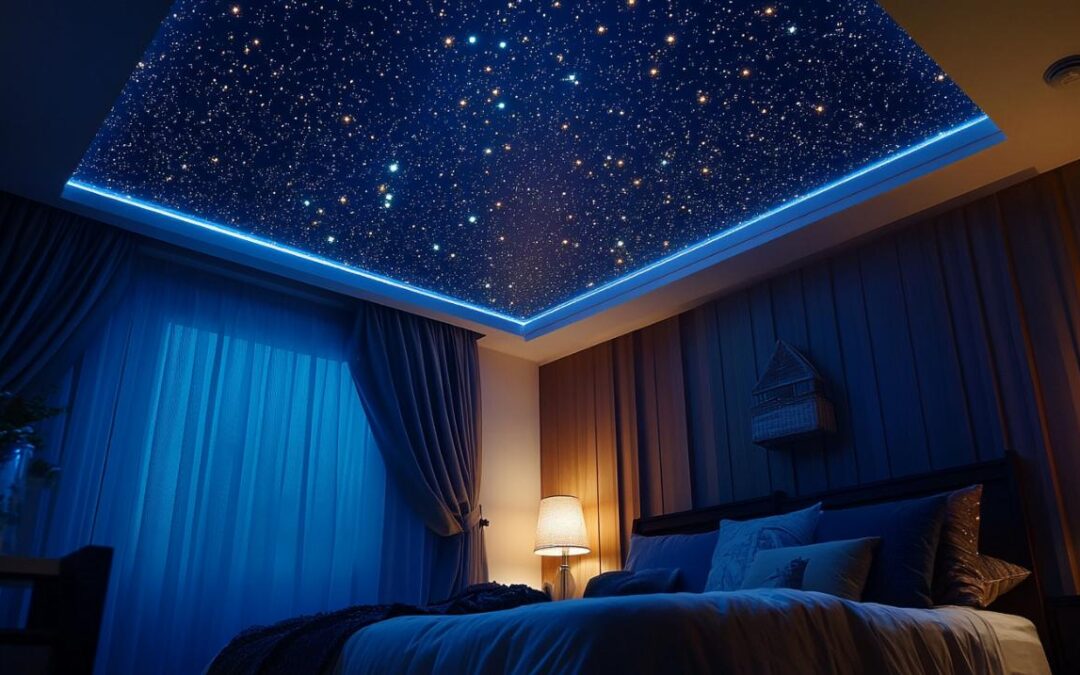
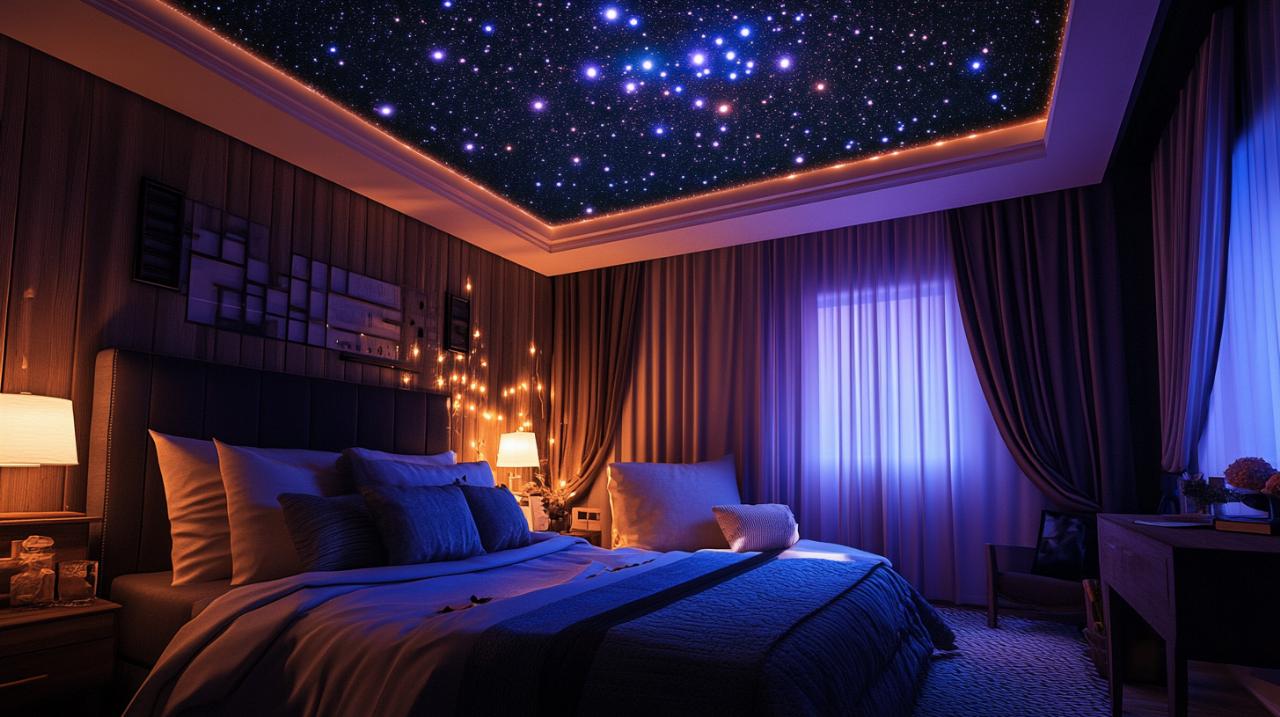
Creating a celestial atmosphere in your bedroom has never been more achievable, and with the right materials and a bit of patience, you can bring the magic of a starlit sky indoors. The combination of PVC panels and fibre optic lighting offers a brilliant solution for those seeking to transform an ordinary ceiling into an extraordinary feature. This project, whilst requiring some technical knowledge, is well within the reach of enthusiastic DIY homeowners who wish to add a touch of wonder to their personal space.
Planning your celestial bedroom makeover
Before you begin drilling or cutting, it is essential to approach this project with a clear plan. The success of your starry ceiling depends heavily on the preparatory work you undertake, from measuring the space accurately to selecting the appropriate materials. A well-thought-out strategy will save you time and ensure that the final result matches your vision. Whether you are working with an existing ceiling structure or creating a new false ceiling, understanding the requirements of both the PVC framework and the fibre optic lighting system is crucial.
Measuring up and choosing your pvc panels
The first step in your celestial project involves taking precise measurements of the bedroom ceiling. This ensures that you purchase the correct amount of PVC panelling and avoid wastage. PVC is an excellent choice for this type of installation due to its lightweight nature, ease of handling, and durability. It is also resistant to moisture, which can be beneficial in rooms with varying humidity levels. When selecting your PVC panels, consider the thickness and finish that will best suit your space. Some DIY enthusiasts prefer a smooth, paintable surface, whilst others may opt for a pre-finished option that requires less preparation. The beauty of PVC lies in its versatility, making it an ideal base for your fibre optic star ceiling installation kit. During your planning phase, it is also worth exploring resources such as maderascovelo.es, which offers insights into various woodworking and construction projects, including techniques that can be adapted for this type of installation.
Selecting the Right Fibre Optic Kit for Your Space
Choosing the appropriate fibre optic kit is a critical decision that will determine the overall effect of your starry ceiling. A comprehensive DIY installation kit from a reputable supplier such as Stellar Lighting typically includes a light engine, a fibre optic bundle, and sometimes optional drill bits tailored for this specific task. The light engine is the heart of the system, responsible for generating the illumination that travels through the fibres to create the twinkling star effect. When assessing your options, consider the size of your bedroom and the desired density of stars. A recommended fibre density ranges from fifty to one hundred fibres per square metre, which provides a natural yet striking appearance without overwhelming the space. It is also important to verify that the light engine you select can accommodate the total length and number of fibres required. Some advanced kits feature a dual port configuration, allowing you to illuminate two separate panels with a single unit, which can be particularly useful if you wish to extend the starry effect across multiple areas or rooms. Additionally, ensure that the operating temperature range of the equipment, typically between zero and forty degrees Celsius, aligns with the conditions in your home.
Step-by-step installation guide for your starry ceiling
Once you have gathered all your materials and tools, the installation process can begin. This phase requires careful attention to detail and adherence to safety protocols, particularly when working with electrical components and at height. The process involves constructing a false ceiling framework using PVC panels, followed by the meticulous threading and positioning of fibre optic tails to replicate the appearance of a night sky. Although the task may seem daunting initially, breaking it down into manageable steps makes it far more approachable.
Fitting the pvc false ceiling framework
The installation of your PVC false ceiling framework is the foundation upon which your starry masterpiece will rest. Begin by assessing the existing ceiling structure to determine whether you have sufficient access above the ceiling. If such access is available, you can attach the PVC panels directly to the joists or existing framework. However, if access is limited, you will need to construct a new frame using wooden battens or metal channels. This frame should be securely fixed to the ceiling using appropriate screws and rawl plugs, ensuring it can support the weight of the PVC panels and any additional materials. Before securing the panels, it is advisable to reinforce the boards, particularly if they are made from lighter materials such as MDF or acrylic sheets. Once the framework is in place, you can begin affixing the PVC panels, taking care to ensure they are level and flush with one another. At this stage, you should also prepare the visible side of the panels by painting them in a dark colour, such as midnight blue or black, or by covering them with fabric to enhance the contrast of the fibre optic stars. Adhesive spray works well for securing fabric, whilst paint provides a clean, uniform finish. It is also prudent to identify the location of the light engine at this point, ensuring it will be placed in a dry, well-ventilated area that remains accessible for future maintenance. Electrical safety must be a priority, and all connections should be made to a 230V lighting circuit protected by a six-amp MCB. The light engine should be positioned away from moisture sources and should not be enclosed in a manner that restricts airflow, as overheating can reduce the lifespan of the unit.
Threading and positioning your fibre optic stars
With the PVC framework securely in place, the next step involves marking the positions for your fibre optic stars. This is where creativity meets precision, as the arrangement of the fibres will dictate the overall aesthetic of your starry ceiling. Using a marker pen, plot out the star points across the surface of the panel, aiming for a natural distribution that mimics the randomness of a genuine night sky. A density of fifty to one hundred fibres per square metre is recommended, but you can adjust this to suit your personal preference. Once you are satisfied with the layout, use a cordless drill fitted with a suitable bit to create holes at each marked point. Care should be taken to drill cleanly and avoid splintering the material, particularly if you are working with PVC or acrylic. After drilling, it is time to thread the fibre optic tails through the holes from the rear of the panel. This process can be time-consuming, especially if you are working with a large area or a high fibre density, but patience at this stage will pay dividends in the final result. As you insert each fibre, ensure that the tail protrudes slightly on the visible side whilst leaving sufficient length on the reverse for connection to the light engine. Once all fibres are in place, secure them with silicone glue or epoxy adhesive on the reverse side, taking care to avoid sharp bends in the fibre optic cable, as these can reduce light transmission. After the adhesive has cured, tidy up both sides of the panel by trimming any excess fibre on the visible side to the desired length, typically flush with the surface or slightly protruding for a more pronounced effect. Finally, connect the fibre optic bundle to the light engine, ensuring all connections are secure and cables are managed neatly to prevent tangling or strain. Once everything is in place, cover any visible screws or fixings with felt dots or colour-matched caps, and power on the system to admire your handiwork. The installation time for a three-square-metre panel with approximately two hundred fibres typically ranges from eight to nine hours, though this can vary depending on your experience and the complexity of the design. With the lights on, your bedroom will be transformed into a tranquil retreat beneath a canopy of stars, offering a unique and captivating feature that is sure to impress.